
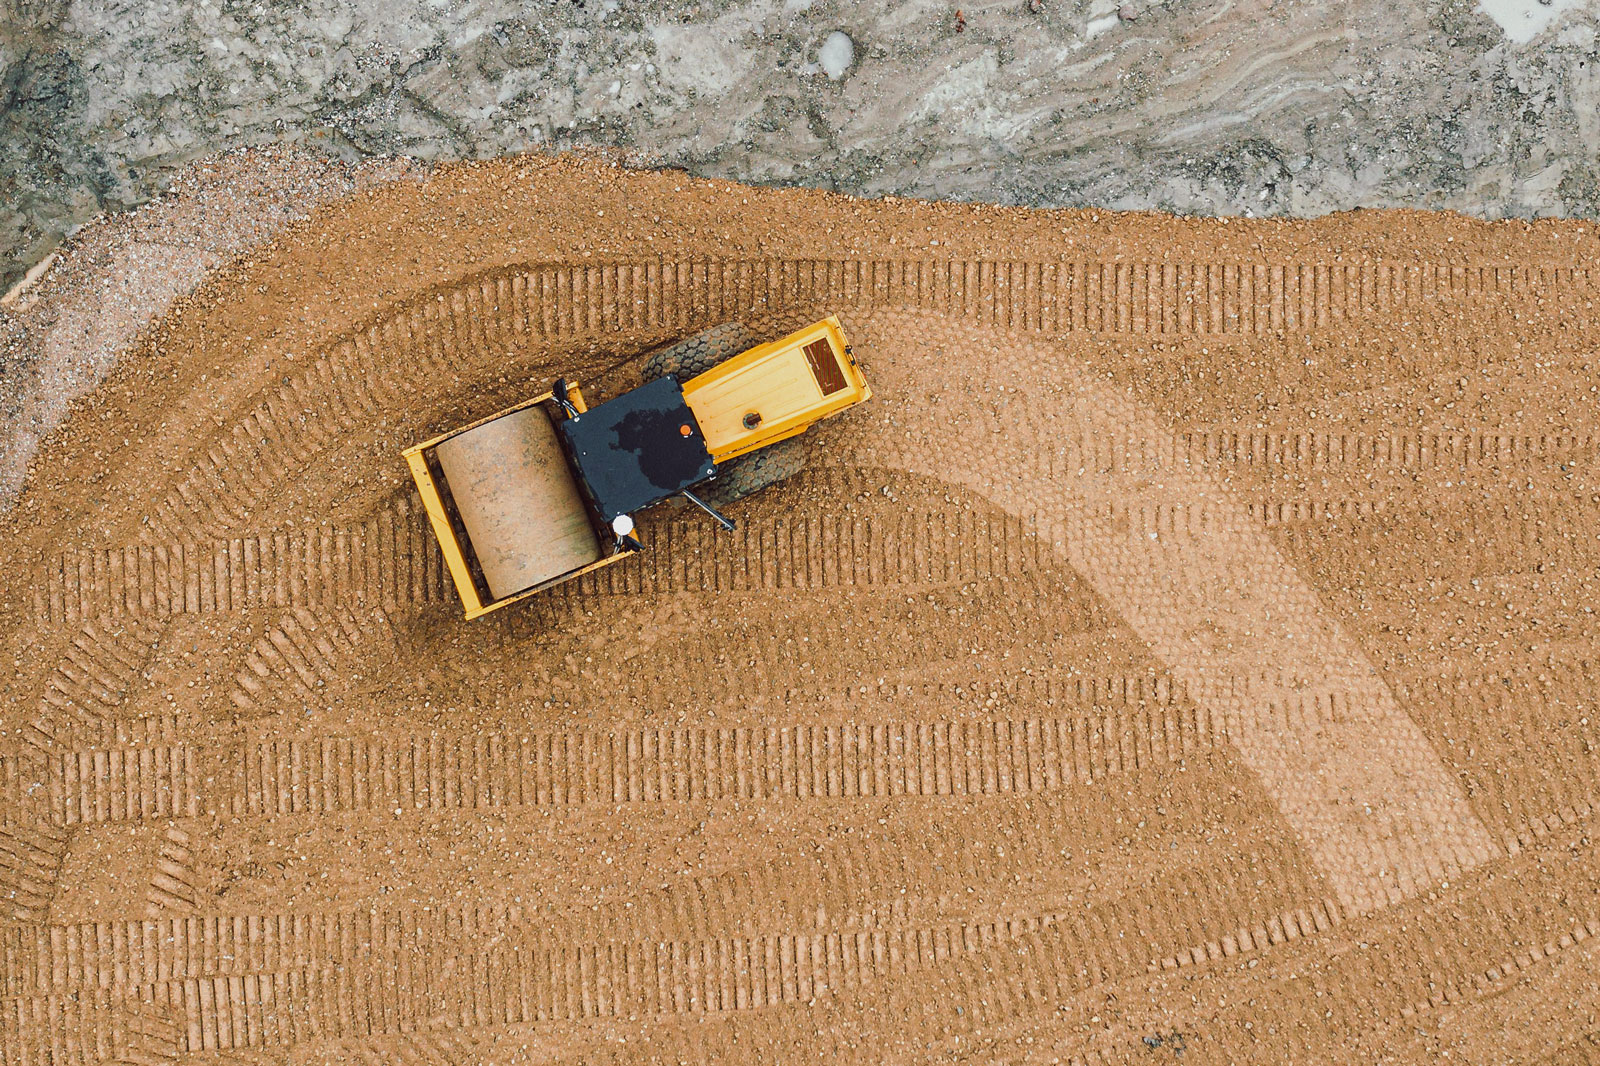
Correct compaction is about controlling energy, not maximizing it. The lift must be thin according to the soil parameters and the moisture close enough to optimum, to then run consistent overlapping passes at a steady speed until the density stops climbing. Compaction problems usually stem from doing the wrong thing too much, rather than too little of the right thing.
Before the first pass
Three things should be decided before the roller starts moving:
Lift thickness. Vibration energy fades as it travels down. Compact rollers, or compaction rollers, effectively compact only the top 6–12 inches; depth varies by material and moisture (Multiquip, Soil Compaction Handbook). Lifts thicker than that leave uncompacted material at the base. Material that passes initial inspection but settles under load months later is a sign that proper compaction density was not achieved. If you’re not reaching the target density, use thinner lifts or make additional compaction passes.
Moisture. Water lubricates the grains so they can slide into place. Soil that is too dry won’t move easily, and overly wet soil allows water to fill voids instead of compacting them. Aim within a couple of points of optimum moisture. Here’s a quick field test: squeeze a handful of soil. If it holds its shape and breaks into a few pieces when dropped, that indicates optimum moisture. Powdery texture means it’s too dry. If it stays plastic and leaves moisture on your hand, it’s too wet.
Drum choice. Smooth drums are for granular material, where the vibration does the work. Pad-foot drums are for cohesive soil, where the pads knead it from the bottom up (Equipment World, Choosing the Right Machine for Proper Soil Compaction; Corniver, Pad-Foot vs. Smooth Drum: How to Choose the Right Compaction Roller).
The pattern
Your passes should follow straight lines. Overlap each pass by roughly 10–30 percent of the drum width, and keep that overlap consistent instead of eyeballing it. Imprecise passes leave strips of under-compacted material between them that don’t show on the surface.
On a slope or a crown, start at the low or supported side and work inward. Uphill material naturally migrates downslope, especially if you start compacting from the top.
Stagger the points where you reverse; reversing at the same line every pass builds a ridge there and a weak spot right after it. Move the turnaround by a few feet each time.
The goal for the whole lift is the same number of passes everywhere. Without a planned approach, the middle of the lane may naturally receive more passes than the edges, leaving uneven density across a surface that looks perfectly uniform.
Speed and pass count
Travel speed and vibration frequency work together. What matters is impact spacing, meaning how many times the drum hits each foot of ground. Aim for 10–14 impacts per foot. Too few impacts can create gaps and dips, while excessive impacts can over-compact the surface.
A quick calculation: taking your machine’s frequency in vibrations per minute and dividing by ten gives you maximum travel speed in feet per minute.
Max travel speed (ft/min) = Frequency (VPM) ÷ 10
In practice most soil work sits between 2 and 6 km/h. If you are driving fast enough that it feels productive, you are likely moving too quickly.
On granular material, 4–8 passes usually achieves target density. The range is wide because material, moisture and lift thickness all affect the work, so it is best to establish the exact number with a test strip at the start of the job.
When vibration goes on and off
Never vibrate while parked. Not only does a stationary vibrating drum dig itself a depression in the lift, but it also puts fretting wear into the bearings because the rolling elements aren’t turning. Start moving before you turn vibration on, and turn it off before you come to a stop.
Turn vibration off when turning. When a vibrating drum turns sideways, it scuffs and shoves the material rather than compacting it.
Turn vibration off near unsupported edges and structures. Next to an open trench edge, vibration can destabilize the edge and drop the drum into the trench. Near buildings, utilities and finished work, ground-transmitted vibration can crack foundations, stress pipe joints, and damage nearby concrete and masonry. Run static passes first and only add vibration if the specification allows it.
On the return pass, vibration depends on the lift. Running vibration forward and dead-rolling static on the way back is common practice for several reasons: it avoids over-working the surface while the machine slows and reverses, it stops the drum bouncing on already-stiff material, and it saves wear on the isolators and bearings. It also makes passes easier to count.
But on a thick loose granular lift you often need vibration in both directions to get energy to the bottom, with the static pass saved for the final surface. So treat the static return as a finishing and protection technique rather than a universal rule, and follow your machine’s operating manual and the job specification.
How to know you’re finished
The clearest sign is when the machine walks out. As the lift densifies, the roller stops sinking into it and starts riding on top, and the surface stops deflecting under the drum.
The second sign is when the drum starts to bounce. This means the ground is too dense for further compaction, so the drum rebounds instead of penetrating. You’ll feel it through the whole machine. It signals the need to stop or reduce amplitude; additional passes crush aggregate and actually reduce density, while also wearing out the machine.
However, neither sign replaces a density test. Always test density against specification requirements before building on it.
This guide is also available as a one-page printable checklist for your cab or to share with new operators: Corniver Roller Operating Guide.
FAQ
How many passes does soil compaction take? Usually 4–8 passes on granular material. It’s best to set the actual number with a test strip rather than guessing.
How much should I overlap each pass? Overlap by 10–30 percent of drum width and keep it consistent throughout. Gaps between passes are the most common cause of uneven density.
How thick should each lift be? Thin enough that the machine’s vibration reaches the bottom, which is roughly 6–12 inches on a compact roller.
How fast should I drive a roller? Slow enough to land 10–14 impacts per foot, generally 2–6 km/h.
Can you over-compact soil? Yes. Passes beyond target density crush aggregate and actually reduce density rather than adding to it.
Why is my roller bouncing? The material has stiffened and the drum is rebounding instead of compacting. Stop or reduce amplitude.
Should I vibrate in reverse? On thick granular lifts, the answer is often yes. On a surface that’s already near density, turning vibration off on the return protects the finish and the machine.
Why can’t I vibrate while parked? Stationary vibration causes the drum to sink, which leaves a depression. It also damages the bearings.
Smooth drum or pad-foot? Smooth drum for sand, gravel, crushed stone and granular base. Pad-foot for clay and cohesive soil.
How do I know the soil is compacted? The roller stops sinking and walks out. Confirm this result with a density test against the spec. In Ontario, OPSS calls for 100 percent of Standard Proctor Maximum Dry Density on Granular A base and Granular B sub-base, so know your target density before you begin compaction.
Compare the rollers and find the machine sized for your lifts and your job sites.
 English
  Français du Canada
  Español de México
  Português do Brasil